Benjamin, what is the fundamental challenge of automated welding?
Robots usually work through their predefined program and have to rely on everything fitting within the permissible tolerances. Sensor technology that makes a robot “intelligent” cannot be used in the automotive industry, e.g. due to limited accessibility or excessive influence on the cycle time. If the technical requirements are met, the technology is only used if the additional costs are justified or if it cannot be avoided.
Robots therefore usually weld “blindly” without sensors to tell them where the component is located. If, for example, the cut of a component changes and, as a result, the joining zone moves out of the working area of the welding torch, the robot usually does not notice this.
And if something doesn’t fit?
Whether welding is carried out with or without sensors, the challenge is to quickly identify the cause of any deviations in quality and to return the process to optimum quality through manual intervention.
The first question is whether this is an isolated case or whether the problem occurs more frequently. Is the occurrence random or is there a systematic approach?
If several systems produce the same components in parallel, for example, it is easy to observe whether the quality deviation is system-specific. A comparison between the quality of similar weld seams can also be used to determine a deviation.
To what extent does the human factor play a role?
A stop in an insertion device was bent, with the result that a component was no longer positioned correctly.
A dedicated employee did not want to stop the entire line and took the repair into his own hands. During the next shift, the amount of rework increased significantly and it turned out that the repair was not effective.
During maintenance work, the welding torch was driven slightly into collision and bent slightly without being noticed. A TCP (Tool Center Point) check was not carried out. As a result, the torch welds slightly “off”.
In both cases, the time of the “process intervention” can be easily traced back because the effect can be measured directly on the next component.
Can it also happen that the process gradually runs out of the optimum?
The classic cause of this is wear on the contact tip, also known as the contact tip. In MIG welding (MIG or MAG), the wire electrode - the welding wire - is fed through the welding torch and melted in the arc. The welding current required for this is transferred to the wire electrode at the very front of the torch in the current contact tube. The wire grinds on the inside of the bore of the current contact tube. This grinding is intentional to ensure a good current transfer. However, the TCP moves due to wear. With increasing wear, the robot welds more and more off the intended path. This occurs in the range of tenths of a millimeter, but is too much above a certain level.
Is there a cause-and-effect relationship?
In principle, yes. Of course, you have to bear in mind that comparing data initially only provides us with correlations. Whether this is also a causal relationship, i.e. a direct cause with a resulting effect, must be assessed individually.
Let’s take the weld seam volume as an example: The volume of a fillet weld is easy to measure and should be constant within small limits.
If the seam volume decreases, it could be because the weld pool flows into a gap and therefore appears to “disappear”.
If the seam volume increases again, it could be that the wire feed or welding current has increased or the welding speed of the robot has been reduced.
In order to be able to filter out the cause of such deviations, you need a complete overview of the entire production system, but also the ability to look in depth, into the details. An even better overview can be obtained from data along the value chain of a product.
What do you mean by “data along the value chain”?
If we look at the information from the inspection of the finished component, we can already make some statements about the quality of our component. In the event of irregularities, the data from the welding process can also provide us with valuable information as to why there was a deviation in the process.
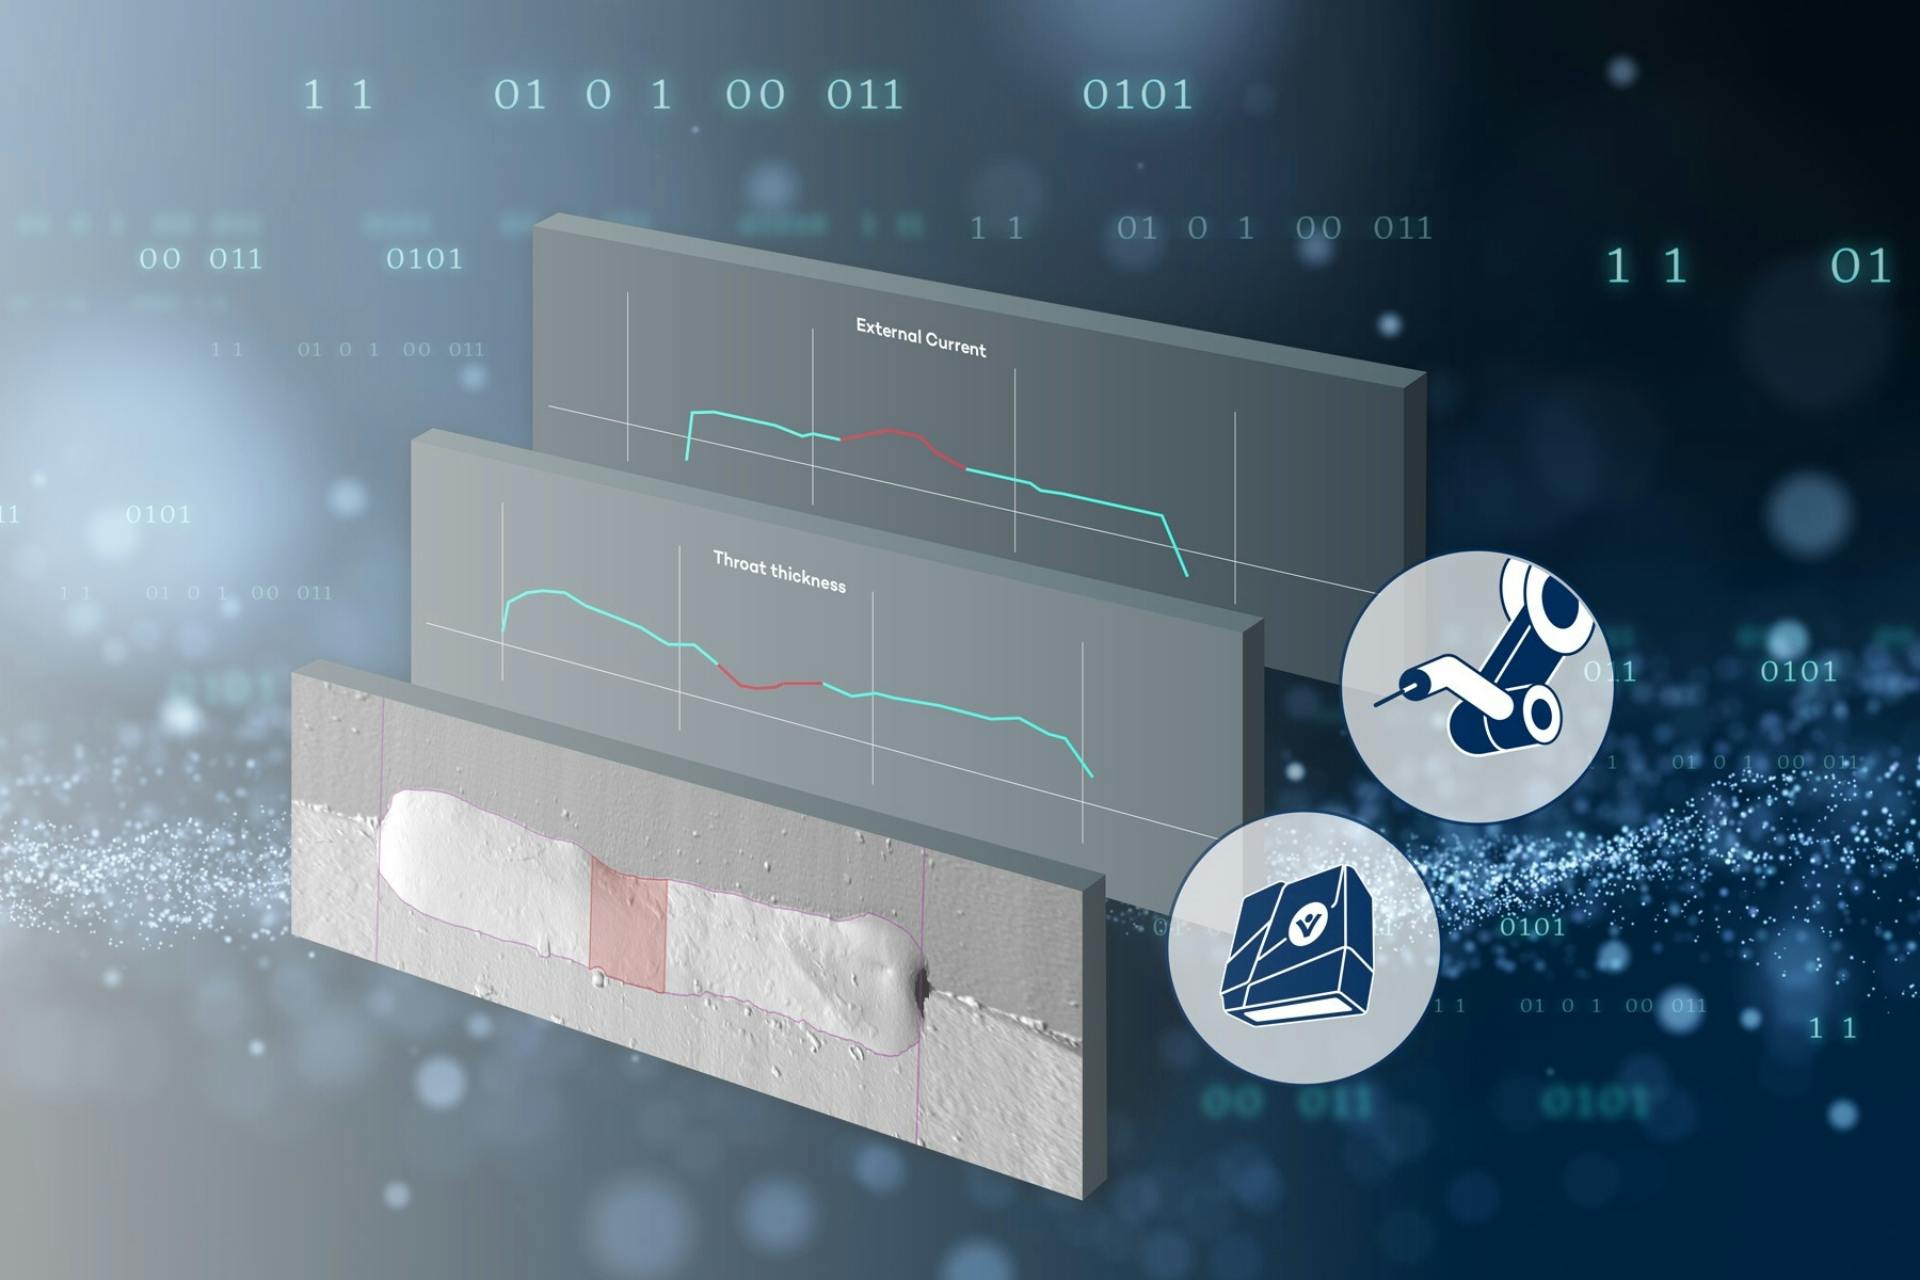
We had a weld seam at one of our customers that was very thick at the start of the seam, i.e. it had a large seam protrusion. This is problematic for two reasons: on the one hand, strong material accumulations can lead to binding errors, and on the other hand, it is important to work efficiently and avoid waste.
The deviation in the wire feed speed was visible in the welding process data so that the cause could be directly identified and eliminated.
What are the advantages of a system for comprehensive data recording and quality monitoring?
One challenge when dealing with irregularities in the production process is compiling all the relevant information about the component.
As we have just seen, it is extremely helpful to have all the relevant data at a glance. This makes it possible to quickly identify problems that are caused directly in the welding process. It would be time-consuming to first have to collect the data from the welding process at the welding power source or from another monitoring system.